

 8096
8096
This guide will provide you the steps to connect your child’s STPS Chromebook device to your home’s Wi-Fi network.
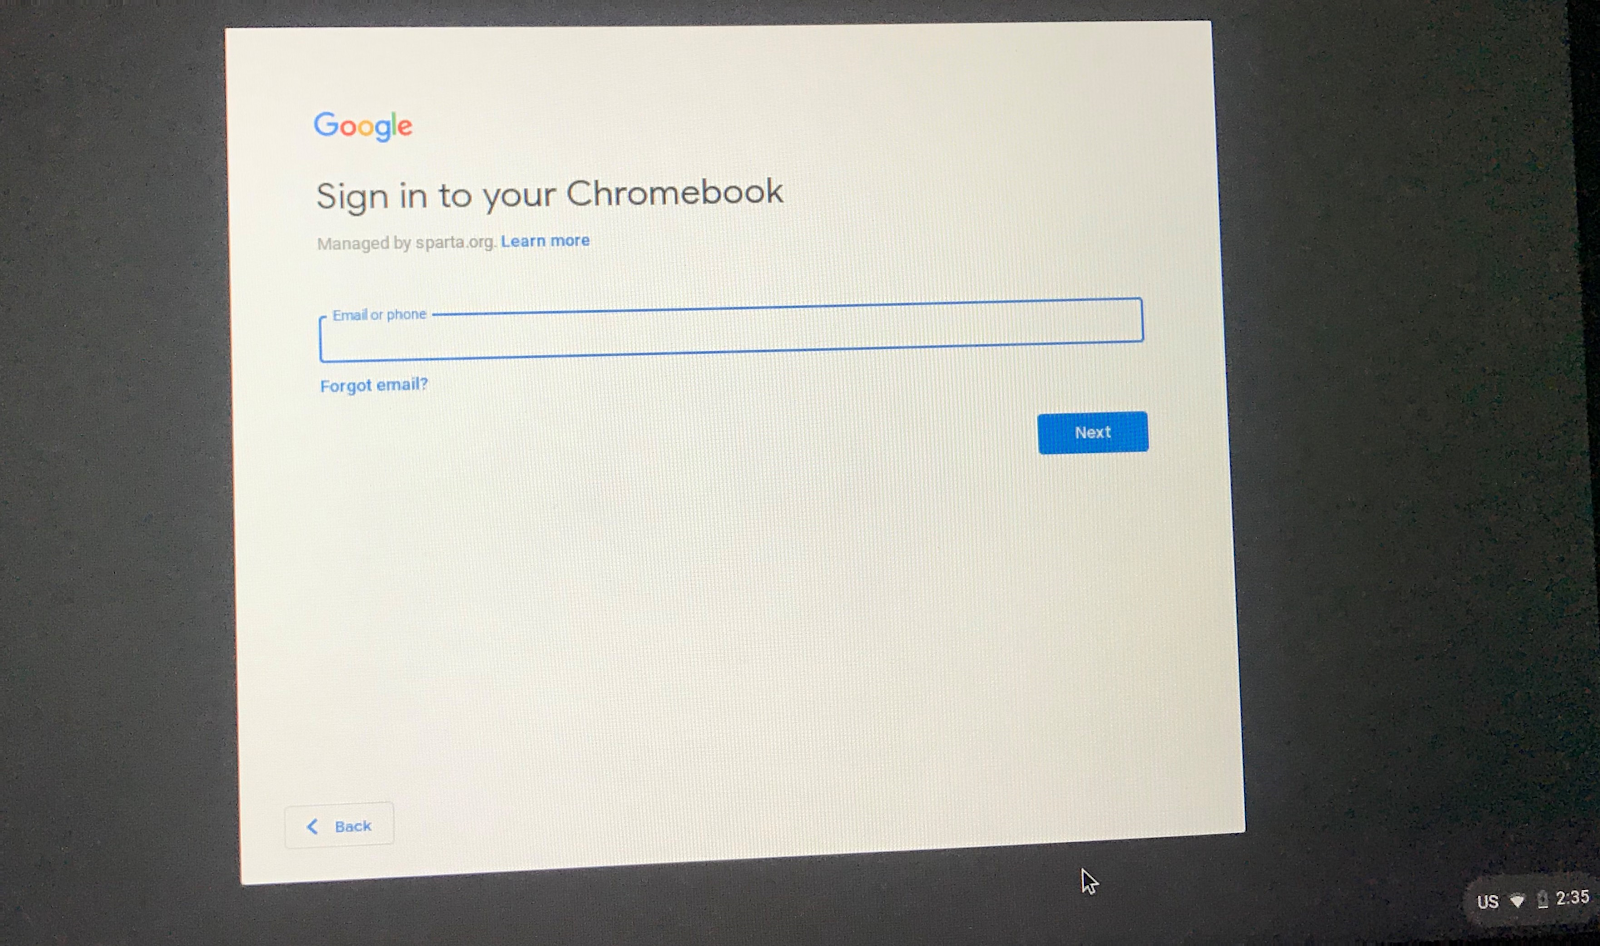
Step 1: Power on the Chromebook.
If the Chromebook does not power on, please plug in the device as it may be low on power.
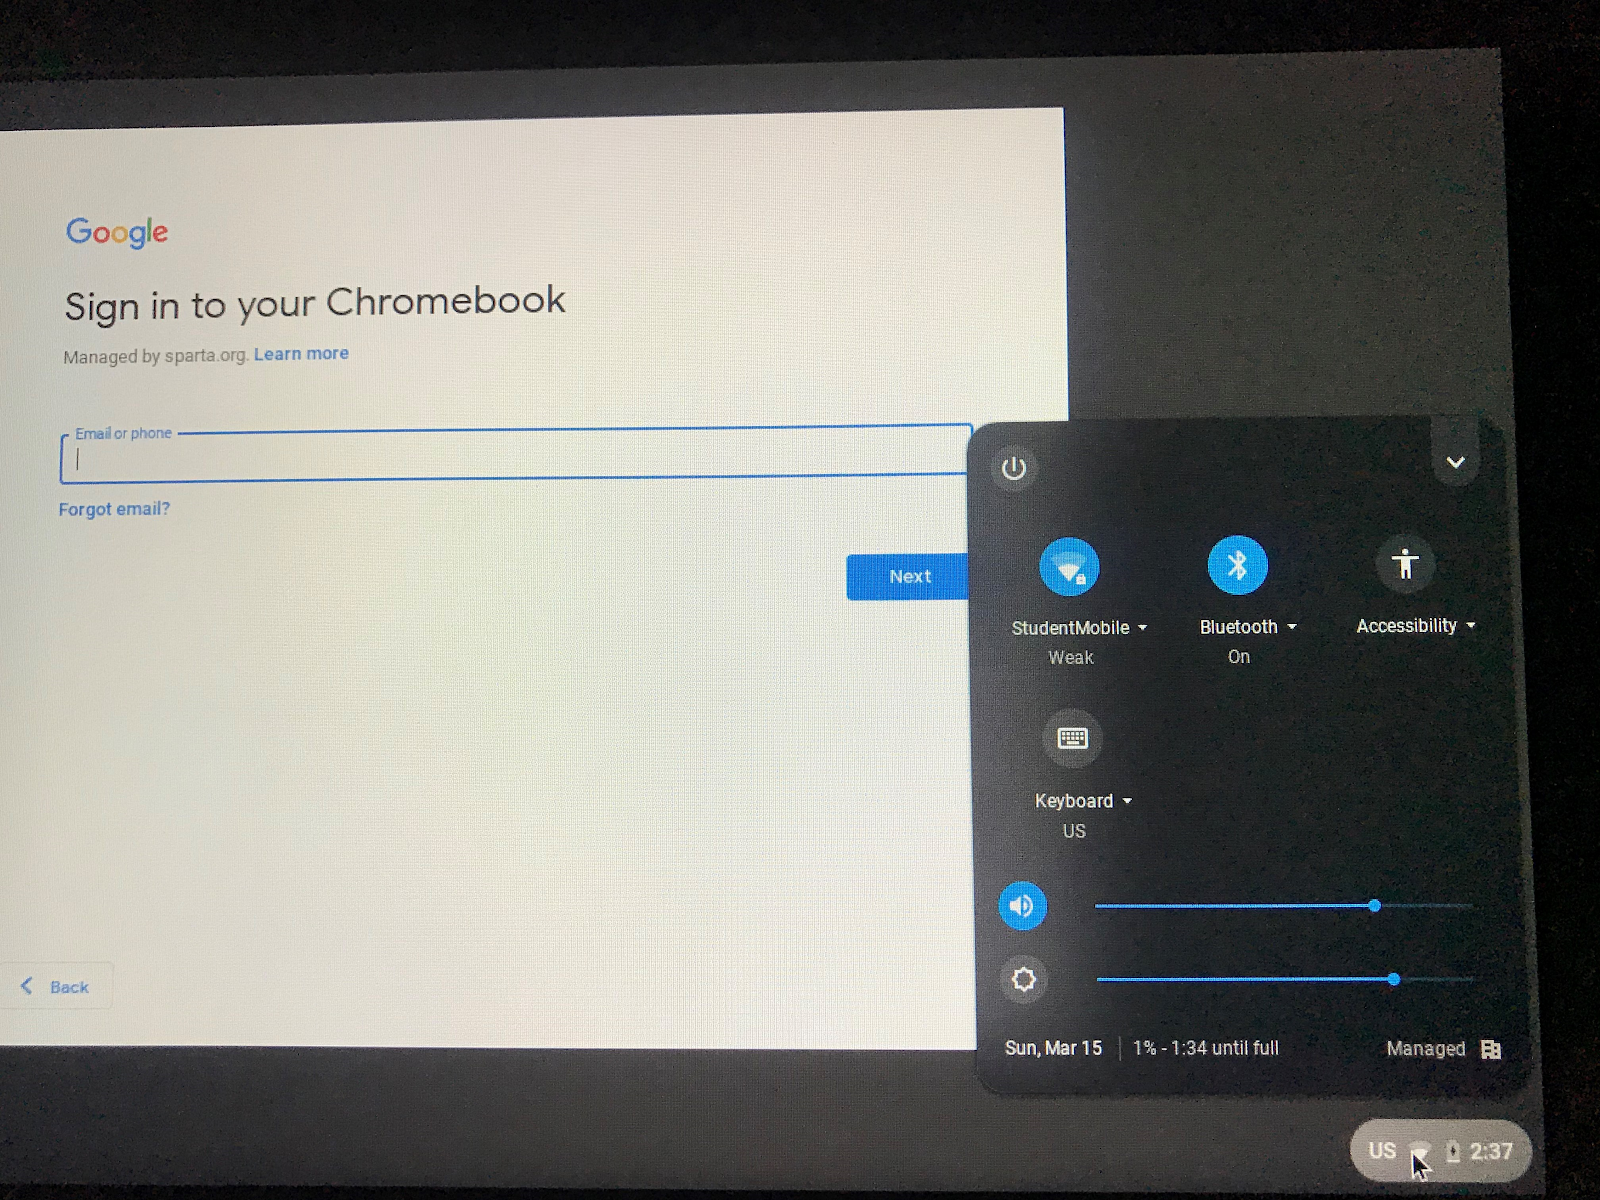
Step 2: Scroll to the lower right corner of the screen and click on the Wi-Fi signal strength icon.
*Please see the blue arrow. It will bring up a control menu.
Step 3: Locate the blue Wi-Fi signal icon 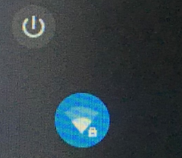
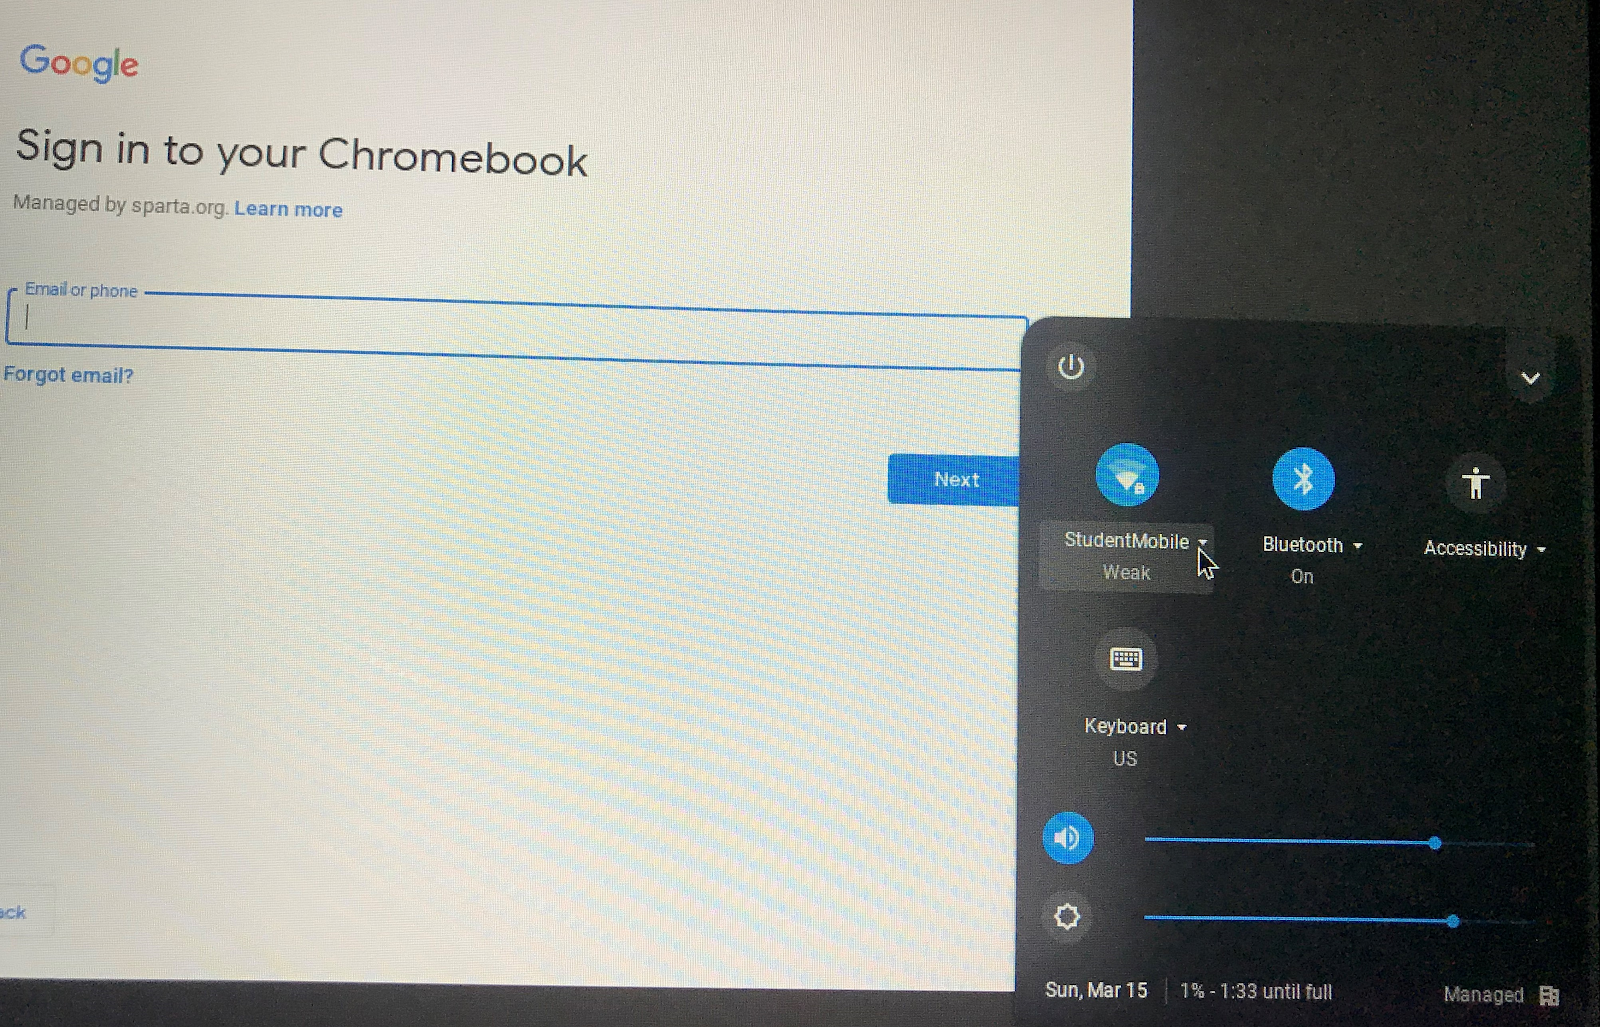
Step 4: You will see a list of available wifi networks appear similar to the below image. Locate and click your home’s wifi network from the list that appears.

Step 5: After clicking on your home’s wifi network, you will be asked to ‘Join the Network’.

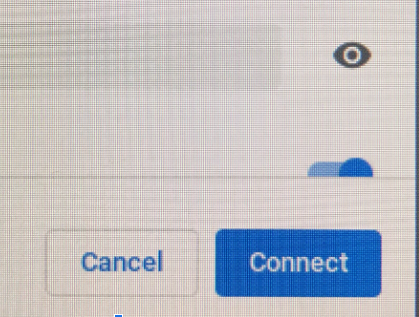
Step 6: Enter in the password to connect to your home’s wifi network in the field provided and click ‘Connect’.
Step 7: You should now be connected to your home’s wifi network. You can verify this by completing Steps 1-3 in this guide. In addition to helping you connect to a wifi network, Steps 1-3 also provide you the ability to verify which wifi network the device is connected to.

